Craft 3 update changed a lot of things. Added functionalities aside, the process of installing and maintaining the CMS also changed with this breakpoint release.
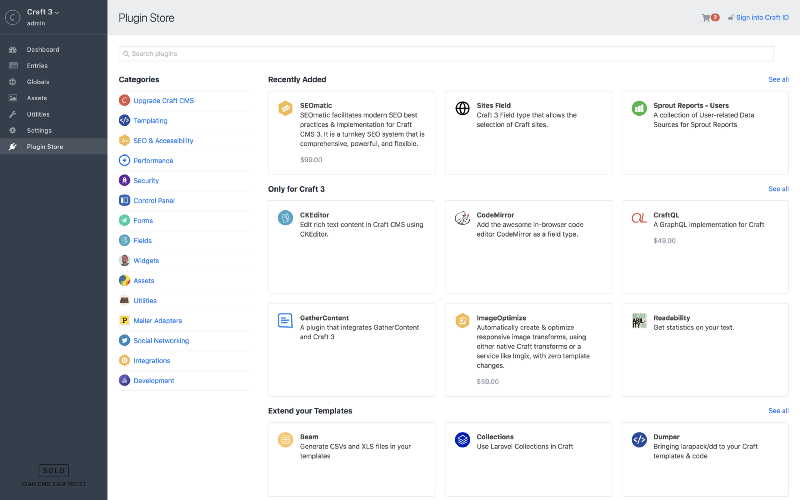
Craft 3 almost makes it necessary to migrate your website from Craft 2. It is better in every aspect, including security and the extended plugin store. The store comes with plugin trials and 30-day license return policy.
For the incremental updates, you just had to click on a button. But with the breakpoint release, Craft CMS tweaked its ways of handling things.
It is advised to get an expert’s help for the migration because there are a lot of things that can go wrong with the migration, for instance:
- Control panel prompting to install Craft instead of the update database dialogue.
- Database configuration settings which are no longer needed
Also, to avoid errors, you have to follow the same naming schemes that were used in your old database; like using same prefixes with the new database connection settings.
There are two steps involved in the migration process of a Craft 2 project.
- Craft 3 Installation
- Manual Migration
Step 1: Craft 3 Installation
To install Craft 3, follow the same steps as mentioned in ‘How to setup a new Craft CMS project’ and then proceed with the migration.
You need to take care of the following requirements before proceeding with the installation:
- Craft 3 requires PHP 7+ and at least 256 MB of memory for PHP
- The installation requires Craft 2.6.2788
- Make sure that your plugins are ported to Craft 3 (check the status at the bottom of the update page)
- Keep a backup of your old database.
After the installation, proceed with the migration process. According to the Craft 3 upgrade documentation following are the steps you need to follow to migrate your Craft 2 project to Craft 3.
Step 2: Manual Migration
Import your database connection settings from your old database file craft/config/db.php to your .env file in the Craft 3 directory.
Now copy the following settings and configuration files from the old Craft 2 directory to the new Craft 3 directory.
- Copy settings from craft/config/general.php to config/general.php
- Copy craft/config/license.key file to config/
- Copy configuration files from craft/config/redactor/ to config/redactor/
- Copy files from craft/storage/rebrand/ to storage/rebrand/
- Copy photos from craft/storage/userphotos/ to storage/userphotos/
- Copy templates from craft/templates/ to templates/
- Copy the changes made, if any, from public/index.php file to web/index.php file
- Copy other files from old public/ to web/ directory.
After copying the files to the web/directory, update the web server to point to it. Enter the Craft’s control panel URL in the browser. It should prompt you to update your database.
Known problems with the migration from Craft 2 to Craft 3

If all goes well you will be able to run the latest Craft 3 with your old database intact. If not then you might be facing the following problems.
Craft installer pops up when accessing the control panel
Your old database connection settings are not matching with the new .env file. It is most likely happening because of a wrong DB_TABLE_PREFIX.
“Setting unknown property:
craft\config\DbConfig::initSQLs” error.
The initSQLs database configuration setting was used in Craft 2 to fix MySQL 5.7 support. It is redundant in Craft 3. Remove the line beginning with ‘initSQLs’ in the config/db.php file to delete the setting.
To avoid major hassles and loss of database, it is recommended that you get a Craft partner onboard. In case you have further queries, you can connect with our Craft CMS experts here.





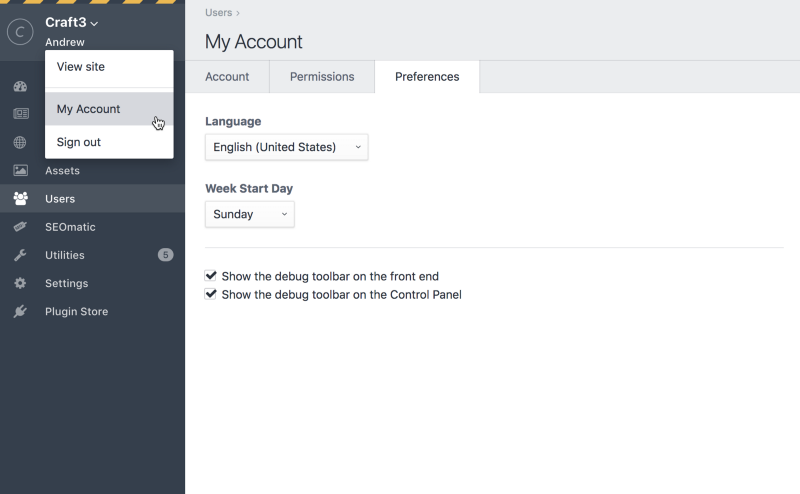
 Make sure you have the admin login.
Once you’re logged in, head to the ‘my account’ section in the drop down where it reads your username in the top left of your Control Panel.
Make sure you have the admin login.
Once you’re logged in, head to the ‘my account’ section in the drop down where it reads your username in the top left of your Control Panel.
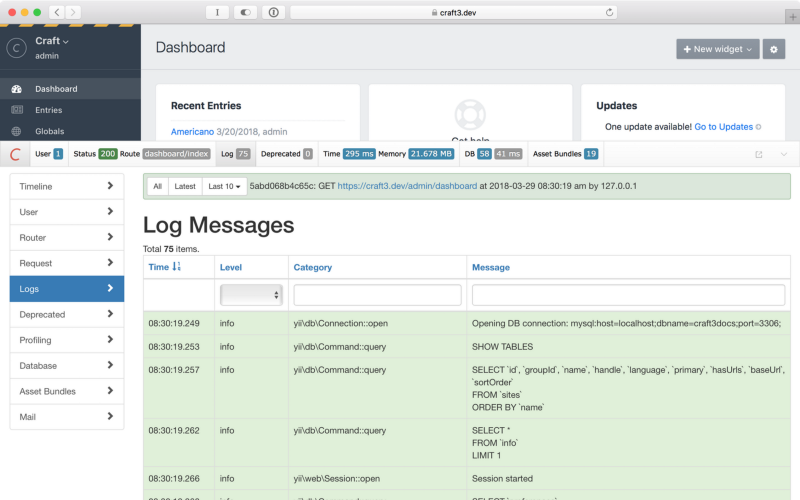
 A collapsed overlay panel will appear in the bottom of your page. It reads Craft’s C from the logo itself. You can press on it to expand it.
That overlay panel is Craft 3 debug toolbar. It shows you a handful of information and helps you keep a check on your page in real time.
You can interact with the information shown in the toolbar by further expanding it half way through the page with a click. To use it in a separate tab, click on the “C”. The full version of the toolbar accommodates more information making it easier to keep track of all the errors, logs, and discrepancies.
A collapsed overlay panel will appear in the bottom of your page. It reads Craft’s C from the logo itself. You can press on it to expand it.
That overlay panel is Craft 3 debug toolbar. It shows you a handful of information and helps you keep a check on your page in real time.
You can interact with the information shown in the toolbar by further expanding it half way through the page with a click. To use it in a separate tab, click on the “C”. The full version of the toolbar accommodates more information making it easier to keep track of all the errors, logs, and discrepancies.
 The debugging toolbar is not for bug fixes only. It offers other perks too: